

Installing surface-mounted cable trunking is a critical skill for electrical contractors, facility managers, and building maintenance professionals. Cable trunking systems provide organized, protective pathways for electrical cables while maintaining accessibility for future modifications. This comprehensive guide covers everything from initial planning to final testing, ensuring your cable trunking installation meets industry standards and delivers long-term reliability. Whether you're working on commercial buildings, industrial facilities, or residential projects, proper cable trunking installation protects valuable electrical infrastructure while maintaining clean, professional appearances.
Pre-Installation Planning and Assessment
Site Survey and Route Planning
Effective cable trunking installation begins with thorough site assessment and route planning. Survey the installation area to identify structural obstacles, existing services, and potential interference points. Document wall materials, ceiling heights, and accessibility requirements that will influence your cable trunking system design. Consider future expansion needs and ensure adequate capacity for additional circuits or data cables.
Measure distances accurately and create detailed installation drawings showing cable trunking routes, fixing points, and connection locations. Account for thermal expansion in long runs and plan for appropriate expansion joints. Verify clearance requirements from other building services like HVAC systems, plumbing, and fire protection equipment to prevent conflicts during installation.
Material Selection and Quantity Calculation
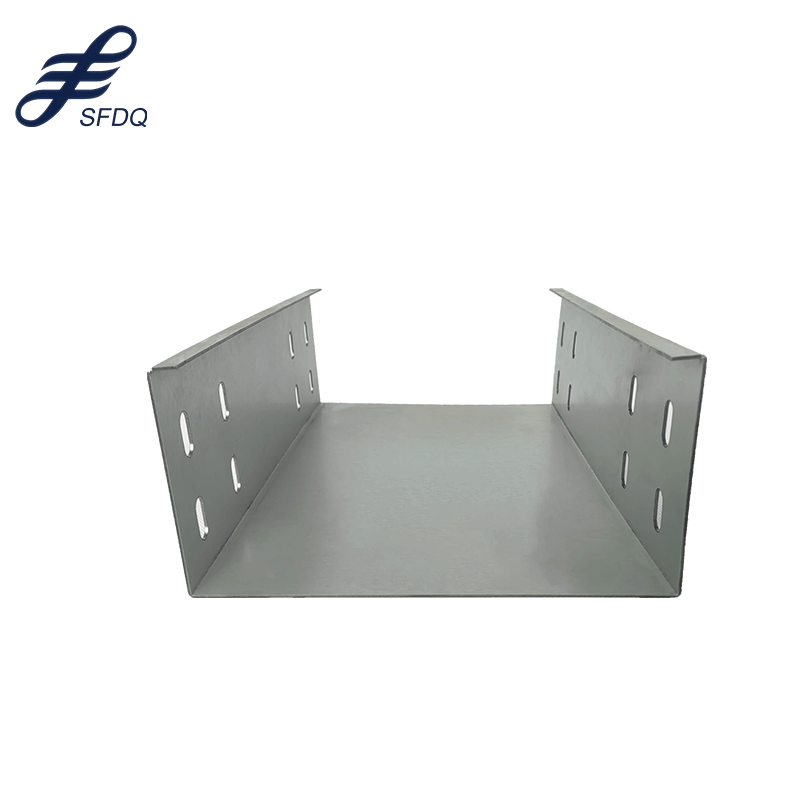
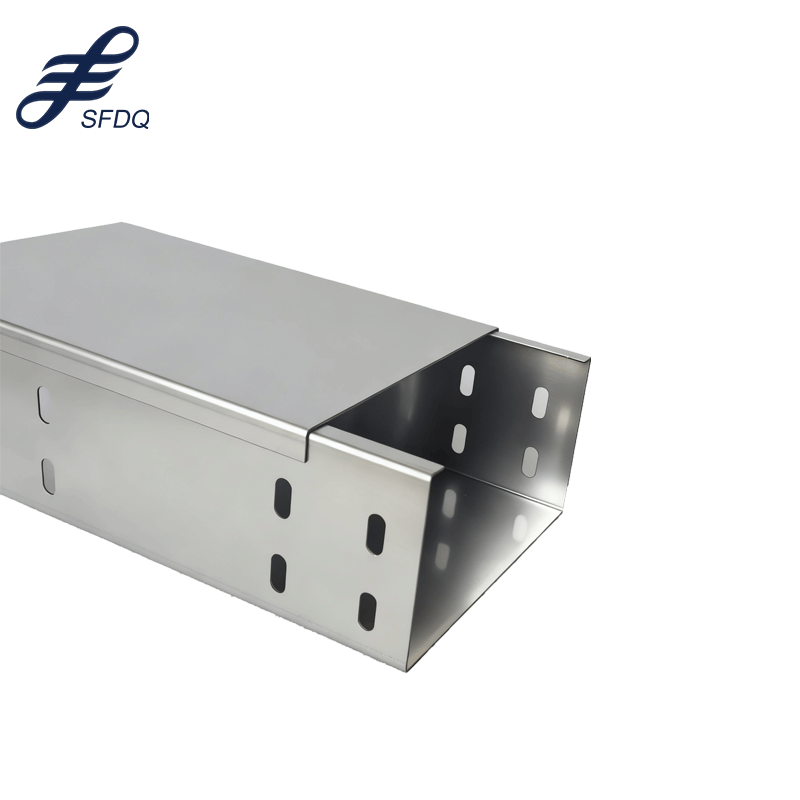
Choose appropriate cable trunking materials based on environmental conditions, load requirements, and aesthetic considerations. Steel cable trunking offers excellent strength and fire resistance for demanding applications, while aluminum provides lightweight alternatives for standard installations. Consider galvanized finishes for corrosive environments and powder-coated options for improved appearance.
Calculate required quantities including straight sections, bends, tees, reducers, and end caps. Add 10-15% extra material to account for cutting waste and potential design modifications. Specify appropriate fixing brackets, typically spaced at 1-2 meter intervals depending on cable trunking size and load requirements. Include necessary accessories like earthing straps, gaskets, and protective covers in your material list.
Essential Tools and Equipment
Cutting and Shaping Tools
Professional cable trunking installation requires specialized cutting and shaping equipment. Heavy-duty metal shears or reciprocating saws with fine-tooth blades ensure clean cuts without damaging cable trunking profiles. File rough edges smooth to prevent cable damage during installation and maintenance activities. Band saws provide precise cuts for complex angles and joints.
Bending equipment becomes essential for custom configurations where standard fittings are unavailable. Hydraulic benders create smooth radius bends without kinking or weakening cable trunking walls. Hand benders work for smaller sizes and field modifications. Always verify bend radius requirements to maintain structural integrity and cable pulling clearances.
Fixing and Alignment Equipment
Accurate alignment ensures professional cable trunking installations that meet industry standards. Laser levels provide precise horizontal and vertical reference lines across long installation runs. Traditional spirit levels work for shorter sections and local adjustments. String lines help maintain consistent alignment between distant fixing points.
Drilling equipment must match substrate materials and fixing methods. Masonry bits and hammer drills work for concrete and brick walls, while wood bits suit timber construction. Impact drivers speed installation of self-tapping screws in steel structures. Always use appropriate personal protective equipment including safety glasses, dust masks, and hearing protection during drilling operations.
Step-by-Step Installation Process
Bracket Mounting and Alignment
Begin cable trunking installation by marking fixing positions according to your installation drawings. Use chalk lines or laser levels to establish straight reference lines for bracket placement. Verify structural adequacy of mounting surfaces and select appropriate fixings for the substrate material. Chemical anchors provide superior holding power in concrete applications.
Install brackets starting from a fixed reference point and work systematically along the installation route. Check alignment frequently using levels and measuring tools to maintain consistent positioning. Ensure brackets are securely tightened but avoid overtightening which can distort cable trunking profiles. Leave adjustment capability for final alignment during cable trunking assembly.
Cable Trunking Assembly and Joining
Assemble cable trunking sections systematically, starting from the main distribution point. Clean all joint surfaces and apply appropriate sealants where weather protection is required. Use manufacturer-approved joining methods including bolted connections, clip-together systems, or welded joints depending on cable trunking type and application requirements.
Maintain consistent joint spacing and alignment throughout the installation. Support long sections adequately to prevent sagging which creates water traps and interferes with cable installation. Install expansion joints at specified intervals to accommodate thermal movement in long runs. Document joint locations for future maintenance reference.
Safety Considerations and Best Practices
Electrical Safety Protocols
Cable trunking installation often occurs in live electrical environments requiring strict safety protocols. Verify electrical isolation before commencing work and implement lockout tagout procedures where applicable. Use non-conductive tools when working near energized equipment and maintain appropriate clearance distances from live conductors.
Install proper earthing connections for metallic cable trunking systems to prevent dangerous potentials during fault conditions. Earth continuity must be maintained across all joints and connections using appropriate earth straps or bonding conductors. Test earth continuity after installation completion to verify system integrity.
Structural and Environmental Safety
Assess structural loading carefully when installing large cable trunking systems. Verify that mounting structures can support the combined weight of cable trunking, cables, and any additional loads like maintenance personnel. Consider dynamic loads from seismic activity or building movement in your structural calculations.
Environmental factors significantly impact cable trunking performance and safety. Protect installations from moisture ingress using appropriate gaskets and drainage provisions. Consider corrosion protection in aggressive environments and specify suitable material grades. Plan for thermal expansion in temperature-varying environments to prevent joint failure and structural damage.
Quality Control and Testing
Visual Inspection Criteria
Comprehensive visual inspection ensures cable trunking installation quality and compliance with specifications. Check alignment and level throughout the entire system using appropriate measuring tools. Verify all joints are properly sealed and mechanically secure. Inspect fixing points for adequate engagement and appropriate torque values.
Examine cable trunking surfaces for damage that could affect cable integrity or system performance. Look for sharp edges, deformation, or corrosion that requires remediation. Ensure all covers fit properly and latching mechanisms function correctly. Document any defects requiring correction before system commissioning.
Performance Testing Methods
Electrical testing verifies cable trunking system safety and functionality. Measure earth continuity resistance across all joints and connections to ensure values meet applicable standards. Test insulation resistance between cable trunking and earth to verify adequate isolation. Document all test results for compliance records and future reference.
Load testing may be required for heavy-duty cable trunking installations. Apply specified loads gradually while monitoring for deflection or joint movement. Verify that actual performance meets design calculations and specification requirements. Remove test loads carefully to avoid sudden stress changes that could damage the installation.
Maintenance and Long-Term Care
Preventive Maintenance Programs
Establish regular maintenance schedules to ensure continued cable trunking performance and safety. Inspect installations quarterly for signs of damage, corrosion, or loose connections. Clean accumulated debris that could trap moisture or interfere with heat dissipation. Document maintenance activities and any corrective actions taken.
Monitor cable loading levels to prevent overheating and premature failure. Check that cable installations comply with derating requirements for enclosed cable trunking systems. Verify adequate ventilation where required and ensure cooling airflow is not obstructed. Update cable records when circuits are added or removed to maintain accurate load calculations.
Troubleshooting Common Issues
Address cable trunking problems promptly to prevent escalation and system failure. Joint separation often results from inadequate initial installation or thermal cycling. Re-align and re-secure affected sections using appropriate joining methods. Consider adding expansion joints if thermal movement exceeds original design assumptions.
Corrosion problems require immediate attention to prevent structural failure and safety hazards. Clean affected areas thoroughly and apply appropriate protective coatings. Replace severely corroded sections and investigate underlying causes like moisture ingress or chemical exposure. Improve environmental protection measures to prevent recurrence.
FAQ
What spacing should I use for cable trunking support brackets
Support bracket spacing depends on cable trunking size, material, and loading conditions. Generally, brackets should be spaced at 1-2 meter intervals for standard installations. Heavy-duty applications or large cable trunking sizes may require closer spacing of 0.5-1 meter. Always consult manufacturer specifications and local codes for specific requirements. Consider additional support near joints, changes of direction, and equipment connections where higher loads occur.
How do I calculate the correct cable trunking size for my installation
Cable trunking sizing requires careful calculation of cable cross-sectional areas and derating factors. Sum the cross-sectional areas of all cables including insulation and apply appropriate fill factors typically ranging from 45-60% depending on cable types and heat dissipation requirements. Consider future expansion needs and add 25-50% spare capacity. Verify that thermal derating factors are applied correctly for enclosed cable trunking installations to prevent overheating.
What are the key safety considerations when installing cable trunking near existing electrical equipment
Installing cable trunking near energized equipment requires strict safety protocols including electrical isolation, lockout tagout procedures, and appropriate personal protective equipment. Maintain minimum clearance distances specified in electrical codes and standards. Ensure proper earthing of metallic cable trunking systems to prevent dangerous potentials during fault conditions. Use non-conductive tools and verify absence of voltage before commencing work. Plan installation sequences to minimize exposure to electrical hazards.
How do I ensure proper earth continuity in metallic cable trunking systems
Earth continuity in metallic cable trunking requires proper bonding across all joints and connections. Use manufacturer-approved earth straps or bonding conductors at each joint location. Clean all contact surfaces to ensure good electrical connection and apply anti-corrosion compounds where appropriate. Test earth continuity after installation using appropriate test equipment to verify resistance values meet applicable standards. Document test results and maintain records for future reference and compliance demonstration.
Table of Contents
- Pre-Installation Planning and Assessment
- Essential Tools and Equipment
- Step-by-Step Installation Process
- Safety Considerations and Best Practices
- Quality Control and Testing
- Maintenance and Long-Term Care
-
FAQ
- What spacing should I use for cable trunking support brackets
- How do I calculate the correct cable trunking size for my installation
- What are the key safety considerations when installing cable trunking near existing electrical equipment
- How do I ensure proper earth continuity in metallic cable trunking systems